
Concealer is one of those makeup essentials that can completely transform your look — when used correctly. Whether you’re aiming to cover dark circles, conceal blemishes, or highlight certain areas of your face, knowing when to use concealer and how to apply it properly makes all the difference.
In this guide, we’ll walk you through everything you need to know to make concealer work for you, not against you.
When Do You Apply Concealer?
Before or after foundation? That’s one of the most common questions, and the answer depends on your makeup goals:
1. After Foundation (Most of the Time)
Apply concealer after foundation to avoid over-applying product. Foundation already provides coverage, so you’ll likely need less concealer than you think. This also helps the concealer stay in place and prevents it from being moved around.
2. Before Foundation (For Spot Correcting)
If you’re targeting specific issues like hyperpigmentation or redness, you can apply a color-correcting concealer (think green for redness, peach for dark circles) before foundation. This neutralizes the area, so your foundation and skin-toned concealer can do their job more effectively.
How to Choose the Right Concealer
Not all concealers are created equal. Your skin type, tone, and the area you’re targeting will influence your choice.
1. Pick the Right Shade
- For under-eyes: Go one or two shades lighter than your foundation to brighten and lift.
- For blemishes or redness: Use a shade that matches your skin tone to blend seamlessly.
- For contouring/highlighting: Choose shades a few tones lighter or darker, depending on the desired effect.
2. Pick the Right Formula
- Liquid Concealer: Best for under eyes and light coverage. Works well for most skin types.
- Cream Concealer: Offers medium to full coverage and is great for blemishes or pigmentation.
- Stick Concealer: Ideal for touch-ups and more targeted application, especially on dry skin.
How to Apply Concealer Like a Pro
Step 1: Prep the Skin
A smooth base is essential. Start with a moisturized face and, if desired, a primer.
Step 2: Apply Foundation First
Even out your skin tone with foundation, focusing on blending well. This creates a consistent base and helps you see exactly where you need concealer.
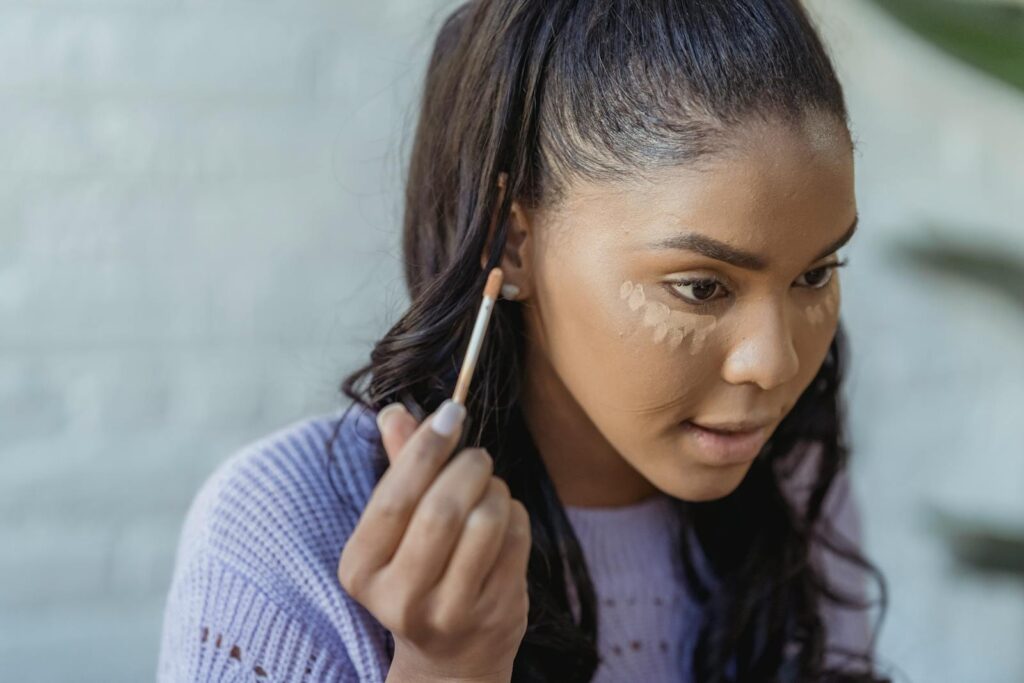
Step 3: Apply Concealer Strategically
- Under the eyes: Apply in a triangle shape (pointing downward) to brighten and lift.
- On blemishes: Dab a small amount directly on the spot and gently tap to blend.
- Around the nose/mouth: Use concealer to neutralize any redness or discoloration.
- Highlighting/contouring: Use lighter concealer on the high points of your face (forehead, chin, nose bridge) and darker concealer under cheekbones and jawline.
Step 4: Blend!
Use a damp beauty sponge, concealer brush, or clean fingertip to gently blend the edges. Be careful not to rub the product away.
Step 5: Set It
To keep concealer from creasing or moving:
- Use a translucent setting powder (especially under the eyes).
- For dry skin, try a hydrating setting spray to lock everything in without emphasizing texture.
Common Mistakes to Avoid
❌ Applying too much product — less is more!
❌ Using the same concealer for everything (under-eye vs blemish vs contour).
❌ Skipping moisturizer or primer — especially if you have dry or textured skin.
❌ Not setting your concealer — which can lead to creasing and sliding.
Choosing and applying concealer isn’t just about covering flaws — it’s about enhancing your natural beauty. With the right product, shade, and technique, concealer can help you look refreshed, flawless, and confident. Practice makes perfect, so don’t be afraid to experiment and see what works best for your unique face.
Got a favorite concealer hack or holy grail product? Share it in the comments!